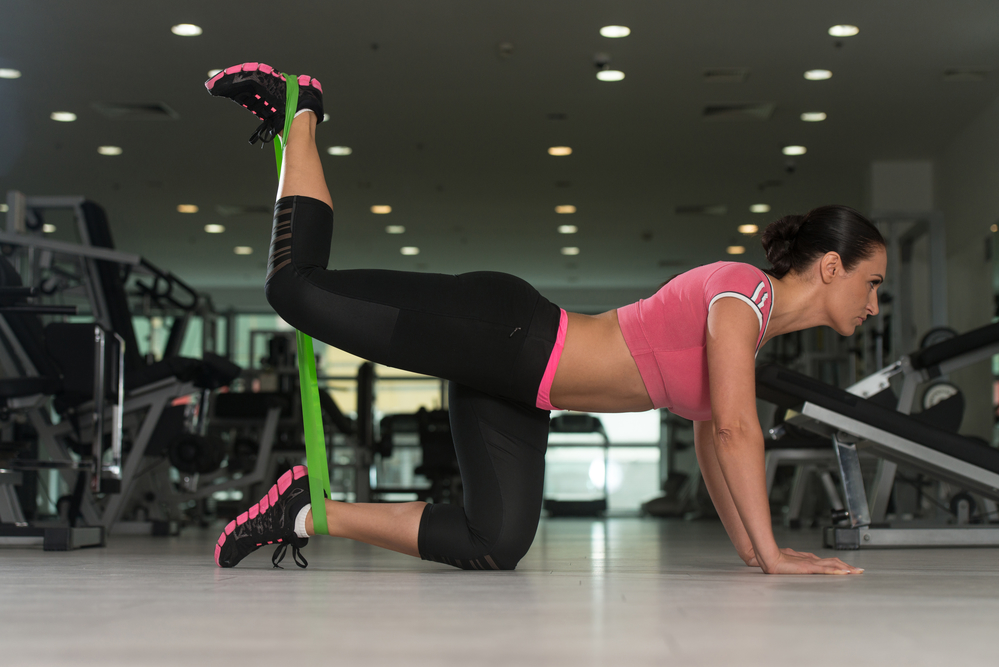
Anyone who has tried adding resistance bands to their routine knows the exact frustration. You set up for a set of lateral walks or Romanian deadlifts, drop into position, and three reps in, your flat rubber band violently curls into a tight, pinching tourniquet. Instead of focusing on driving tension into your target muscles, you spend the entire set grimacing at pinched skin, stopping to unroll bunched latex, and losing all momentum.
Because of this constant hassle, many people dismiss bands as flimsy warm-up tools or rehab gear that cannot build real mass. That assumption is flat wrong. Resistance bands can stimulate significant muscle growth, provided you understand how to generate mechanical tension and solve the friction and equipment issues that derail your workouts.
The Mechanics of Building Muscle With Elastic Tension
Building muscle requires three primary drivers: mechanical tension, muscle damage, and metabolic stress. Free weights rely on gravity to create resistance, meaning the load remains static while the leverage changes throughout the range of motion. Resistance bands operate on accommodating resistance, meaning the load increases the further the band is stretched.
This dynamic presents both an advantage and a challenge for hypertrophy. The advantage is that bands often match your natural strength curve. When pressing or squatting, you are naturally stronger near the lockout than in the hole, and that is precisely where the band exerts its peak tension.
The challenge lies in the bottom of the movement. When you lower into a deep squat or stretch your hamstrings in a hinge, a resistance band often loses tension entirely. If your muscles experience zero resistance in the lengthened position, you leave substantial muscle growth on the table. To trigger hypertrophy with bands, you must set up the movement so there is always slight tension on the band even at the absolute bottom of the repetition.
Why Resistance Bands Roll and Slide
Before fixing the problem, it helps to understand why it happens. Rubber bands roll because of a simple physics issue involving surface friction and muscle shape.
Your limbs are not straight cylinders; they are tapered cones that expand and contract. When your quadriceps or glutes flex, the muscle belly expands outward. Thin latex possesses high elasticity but minimal structural rigidity. As the muscle shifts beneath it, the uneven tension pulls on the edge of the rubber. Once a tiny section folds over, the rest of the band instantly rolls toward the narrowest point of your limb to release shear stress.
Synthetic workout clothing worsens the issue. Slick spandex or polyester leggings offer almost zero traction, allowing latex to slip and bunch the second you move through a multi-planar pattern. Sweat on bare skin creates the opposite issue: localized sticking points that grab one edge of the band while the other edge slides, triggering an immediate roll.
Practical Fixes to Stop Bands From Rolling Up
Eliminating the roll does not require complicated hacks. It requires selecting the right tools for the movement pattern and adjusting where the band makes contact with your body.
Switch to Woven Fabric Loop Bands for Lower-Body Work
If you are using thin, translucent latex mini-bands around your thighs for squats, glute bridges, or abduction work, you are fighting an uphill battle. The single most effective upgrade you can make is switching to wide, woven fabric loop bands.
Fabric bands incorporate elastic threads woven directly into a heavy cloth blend, backed by inner silicone grip strips. Because the fabric has structural width that resists folding, it cannot collapse into a narrow string regardless of how aggressively your legs move. They do not pinch bare skin, and they grip slick gym leggings securely without sliding. Reserve thin latex bands for upper-body work like shoulder external rotations, face pulls, and pull-aparts where limb shapes are flatter and dynamic shifts are smaller.
Adjust Placement Away From Muscular Tapers
Where you place the band dictates how easily it rolls. Placing a mini-band directly across the thickest mid-point of your thigh guarantees it will slide downward toward the knee as soon as the quad contracts.
Instead, position the band either two inches above the knee joint or just below the knee at the upper calf. These areas provide stable anatomical shelves where the bone structure prevents the band from traveling. For hip hinge patterns, placing the band slightly lower down the calf maintains uniform outward pressure and keeps the material completely flat against the shins.
Maintain Continuous Lateral Pressure
Bands frequently roll during the transition between the concentric and eccentric phases because the user allows their knees or ankles to collapse inward. The momentary loss of tension causes the band to go slack, shift its position, and snap into a roll the moment tension returns. Keep outward abduction pressure throughout the entire repetition, actively pushing against the band even as you return to the starting position.
Lay 41-Inch Loop Bands Completely Flat Underfoot
For compound movements like good mornings, deadlifts, and overhead presses, lifters commonly use long 41-inch continuous loop bands. If you step onto a round or twisted band, the uneven base will rotate under your shoes and ride up toward your ankles.
Take three seconds to smooth the band out flat against the floor before stepping onto it with a shoulder-width stance. Stand directly on the center of the strap with the arches of your shoes so your body weight clamps the band firmly to the floor.
How to Program Bands for Maximum Muscle Growth
Once you eliminate equipment distractions, your focus must shift to training intensity. Because bands do not display weight numbers like iron plates, people often stop sets long before their muscles reach true fatigue.
Control the Negative Tempo
Bands want to snap back to their resting length. If you yield to that elastic snap, you skip the eccentric phase of the lift, which is critical for muscle damage and growth. Fight the band on the way down. Use a three-second eccentric tempo, forcing your muscle fibers to decelerate the band’s pull smoothly.
Exploit the Peak Contraction
Because tension peaks at full stretch, make the end range work for you. When performing rows, chest presses, or glute thrusts, hold the peak contraction for a solid two-count. Squeezing against the band’s maximum resistance recruits high-threshold motor units that are difficult to reach with momentum-heavy free weight training.
Train Closer to Failure
With heavy barbells, you might stop two reps shy of failure for safety reasons. With resistance bands, the risk of dropping a heavy load is gone. To stimulate the same hypertrophic response, push your work sets within one rep of technical failure, or even take them to complete muscular failure. Combine this with higher rep ranges, typically between twelve and twenty-five controlled repetitions, to maximize metabolic stress.
Resistance bands are far more than a warm-up novelty. When you choose wide fabric options that stay flat, lock your foot placements down, and demand rigorous tempo control on every rep, you transform simple elastic loops into an exceptionally versatile muscle-building system.